For the next step, I switch to a smooth 90-durometer contact wheel. I am using a 120-grit belt and this is the belt with which I do most of my work. The 120-grit belt removes all the 60-grit scratches, bringing the grind line close to where I want it to be. The thickness of the cutting edge is finally established.
When I stop using the 120-grit belt, I know that all the 60-grit scratches have been removed.
Something to keep in mind about the speed of my grinder is that I use a variable-speed, 2-horsepower DC grinder. With the 60-grit belt, I run the grinder at full speed, and while using the 120-grit belt, I reduce the grinder to 80-percent speed. This prevents the steel from getting too hot as the grit becomes finer. It also allows me to have better control of the grind so I do not overly grind the blade.
After taking the 120-grit belt to the blade, the height of the grind is close to where I want it. The grind is straighter, and the cutting edge is a lot thinner.
The next step is to complete the center grind. I use a 1-inch-wide, 8-inch-diameter, 70-durometer, smooth contact wheel. The softer wheel is more forgiving when used with finer grits. I use a 1-inch wheel for two reasons: First, it allows me to work both plunges on the left and right side of the grind; and secondly, it helps concentrate your grind into one specific area. I will be using 320- and 600-grit belts with this wheel. I split my belts so they overhang the wheel on both sides. This gives the grind a nice radius in the plunges.
The center grind is completed. I have stayed away from my reference points while grinding, and the two plunges exhibit nice radii. The finish on the grind is fine because after I use the 600-grit belt, I add white rouge to the belt. This helps polish the bevel and brings it to a much finer grit without removing any material.
To complete this blade, the front end, nearest the tip, needs to be ground. I repeat steps that I used for the center grind, but instead of grinding as high, I grind it much shorter. I also leave the cutting edge a little bit thicker to produce a blade with a strong tip and a robust cutting edge, all followed by a razor-fine edge for fine cuts.
After the blade is completely ground and the bevels have an extremely fine finish, I go around the edge of the blade with a Scotch-Brite wheel. This ensures that the edge of the blade has a fine finish and any deep scratches will be removed at this point.
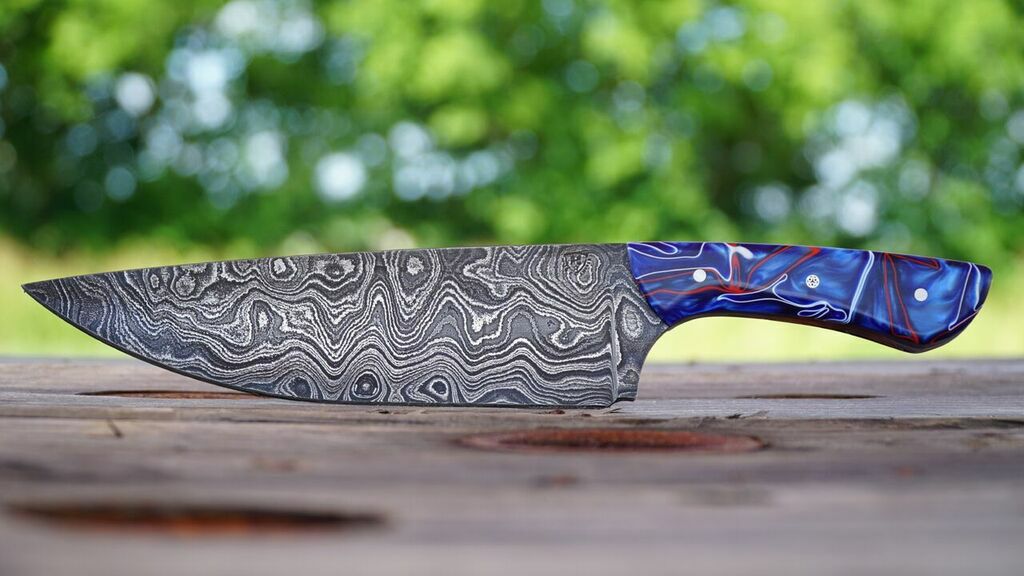
It is now time for etching the damascus. I use muriatic acid in a preserve jar, and I set the jar on top of a piece of Micarta. The jar and Micarta are placed in a small fryer filled halfway with water and brought to a boil. The Micarta prevents the glass jar from breaking. When the water is at a boil, the blade is ready to be etched. I use a coat hanger with a plastic sleeve as a rod to suspend the blade in the acid. You must be careful when etching damascus blades using this technique; if you leave your blade in the muriatic acid too long, you will ruin it.
 NEXT STEP: Download Your Free KNIFE GUIDE Issue of BLADE Magazine
BLADE’s annual Knife Guide Issue features the newest knives and sharpeners, plus knife and axe reviews, knife sheaths, kit knives and a Knife Industry Directory.Get your FREE digital PDF instant download of the annual Knife Guide. No, really! We will email it to you right now when you subscribe to the BLADE email newsletter.


